




How to install a spiral flute step drill in a drill?
 Dec 18, 2025|
 As a supplier of Spiral Flute Step Drills, I'm excited to share with you a detailed guide on how to install a spiral flute step drill in a drill. These drills are highly versatile and efficient tools, commonly used in metalworking, woodworking, and other industries. Proper installation is crucial for ensuring optimal performance and safety.
Step 1: Gather the Necessary Tools
Before you begin the installation process, it's essential to gather all the tools you'll need. Here's a list of the basic tools:
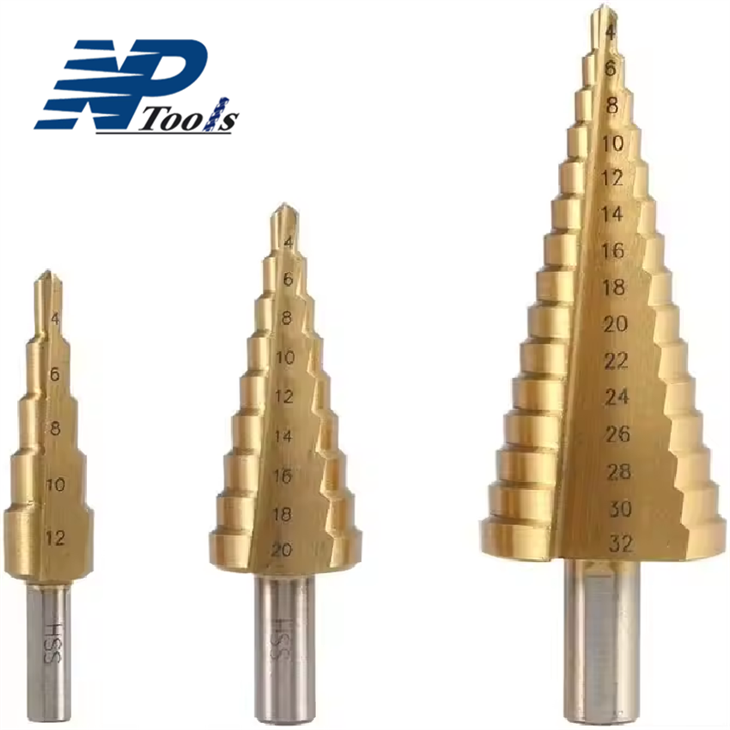

- A drill (corded or cordless)
- The spiral flute step drill you want to install
- A drill chuck key (if your drill has a keyed chuck)
Step 2: Choose the Right Drill
Not all drills are suitable for spiral flute step drills. You need to select a drill that has enough power and the appropriate chuck size. Most spiral flute step drills are designed to fit into standard drill chucks, which typically come in sizes such as 3/8 inch or 1/2 inch. Make sure your drill's chuck size matches the shank diameter of the step drill.
Step 3: Prepare the Drill
If your drill has a keyed chuck, insert the chuck key into the chuck. For keyless chucks, you can skip this step. Next, loosen the chuck jaws by turning the key counterclockwise or by rotating the chuck collar counterclockwise for keyless chucks. Open the jaws wide enough to accommodate the shank of the spiral flute step drill.
Step 4: Insert the Spiral Flute Step Drill
Carefully insert the shank of the spiral flute step drill into the chuck jaws. Make sure the shank is centered within the jaws. You can refer to the markings on the drill shank to ensure proper alignment. If the shank is not centered, the drill may wobble during operation, leading to inaccurate holes and potential damage to the drill and the workpiece.
Step 5: Tighten the Chuck
Once the shank is inserted correctly, it's time to tighten the chuck. For keyed chucks, turn the key clockwise to tighten the jaws around the shank. Apply firm pressure to ensure a secure grip. For keyless chucks, rotate the chuck collar clockwise until the jaws are tightly clamped around the shank. Make sure the drill is held firmly and doesn't move when you try to wiggle it gently.
Step 6: Check the Installation
After tightening the chuck, give the drill a quick visual inspection. Check that the spiral flute step drill is straight and properly aligned with the drill's axis. You can also spin the drill by hand to ensure it rotates smoothly without any wobbling or excessive play. If you notice any issues, such as a loose drill or misalignment, loosen the chuck and repeat the installation process.
Step 7: Safety Precautions
Before using the drill, it's important to take some safety precautions. Wear appropriate safety gear, such as safety glasses, gloves, and ear protection. Make sure the workpiece is securely clamped or held in place to prevent it from moving during drilling. Also, be aware of the drill's speed and feed rate, as using the wrong settings can cause the drill to overheat or break.
Step 8: Testing the Drill
Once you've installed the spiral flute step drill and taken all the necessary safety precautions, it's time to test the drill. Find a scrap piece of material similar to the one you'll be working with and make a test hole. This will allow you to check the drill's performance and make any necessary adjustments before starting your actual project.
Benefits of Spiral Flute Step Drills
Spiral flute step drills offer several advantages over other types of drills. The spiral flutes help to evacuate chips more efficiently, reducing the risk of clogging and improving the drilling speed. They also provide a smoother cutting action, resulting in cleaner holes and less wear on the drill. Additionally, spiral flute step drills can be used to drill multiple hole sizes with a single tool, saving time and effort.
Comparison with Straight Flute Step Drills
While spiral flute step drills have many benefits, it's also worth considering Straight Flute Step Drills. Straight flute step drills are better suited for applications where chip evacuation is not a major concern, such as drilling thin materials. They also tend to be more rigid and can provide better accuracy in some cases. However, for most general-purpose drilling applications, spiral flute step drills are the preferred choice.
Conclusion
Installing a spiral flute step drill in a drill is a relatively straightforward process, but it requires attention to detail to ensure proper installation and safe operation. By following the steps outlined in this guide, you can easily install a spiral flute step drill and start using it for your projects. If you're in the market for high-quality spiral flute step drills, we invite you to explore our range of products at Spiral Flute Step Drill. Our drills are made from premium materials and are designed to provide exceptional performance and durability. If you have any questions or would like to discuss your specific requirements, please don't hesitate to contact us for a procurement negotiation.
References
- Drill Manufacturer's Manuals
- Industry Standards for Drill Installation and Use